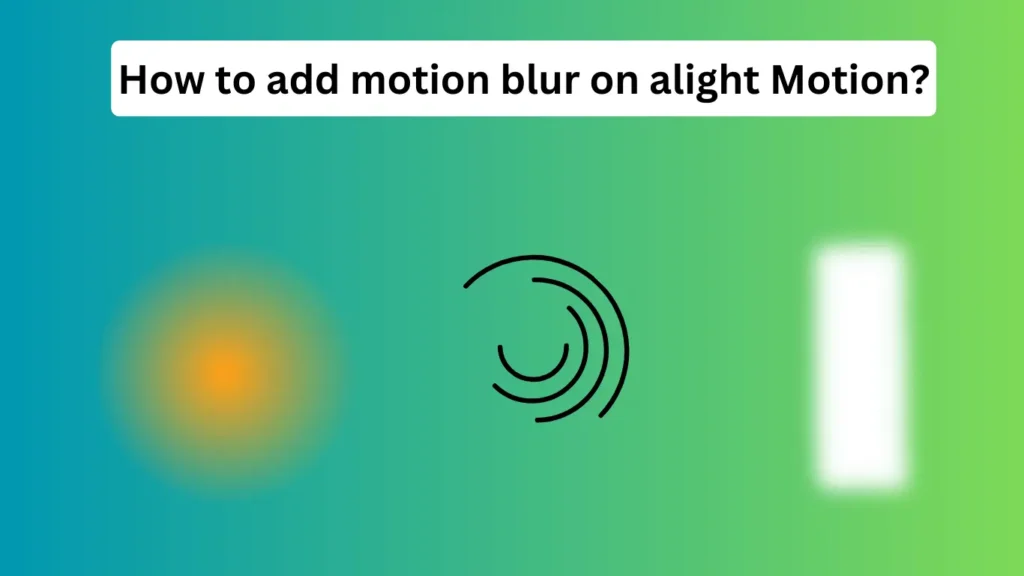
Motion blur is like the blur you see with a fast-moving object across the frame, when we talk of blur here, it is that smooth blur where the object has blended into the background. You typically see it when the character is running or jumping, when switching to another scene, or when it seems the animation just looks a bit cooler that way. First, let’s understand that Alight Motion does support motion blur, and in this tutorial, we will explain How to add motion blur on Alight Motion.
Types of Motion Blur in Alight Motion
Alight Motion provides two ways to add motion blur:
- Preset Motion Blur: An ideal class for people who want to start navigating with a paddle but do not know where to start.
- Manual Motion Blur: For users who would like to have an enhanced control of the effect.
Setting Up Your Project on Alight Motion
To start, open Alight Motion and create a new project:
Choose the aspect ratio, frame rate, and background color.
If you intend to work with video or image layers, you import these into the project.
Importing Your Clips or Elements
After setting up your project, import the clips or elements you want to edit:
Video Footage: Within this application, you can simply drag the video that you want to blur from your phone’s gallery.
Images or Animation Layers: We have to import any picture ingredients that have motion blur.
How to Access Motion Blur in Alight Motion
To add motion blur:
- Choose the layer you wish to edit and apply the specified effect to it.
- Press on Effects which can be located lower on the screen.
- Go to Add Effect and type in the search box Motion Blur.
Using Presets for Quick Effects
To apply one:
- After selecting Motion Blur, you will find a preset option to choose from.
- Use the strength slider control to increase or decrease its strength.
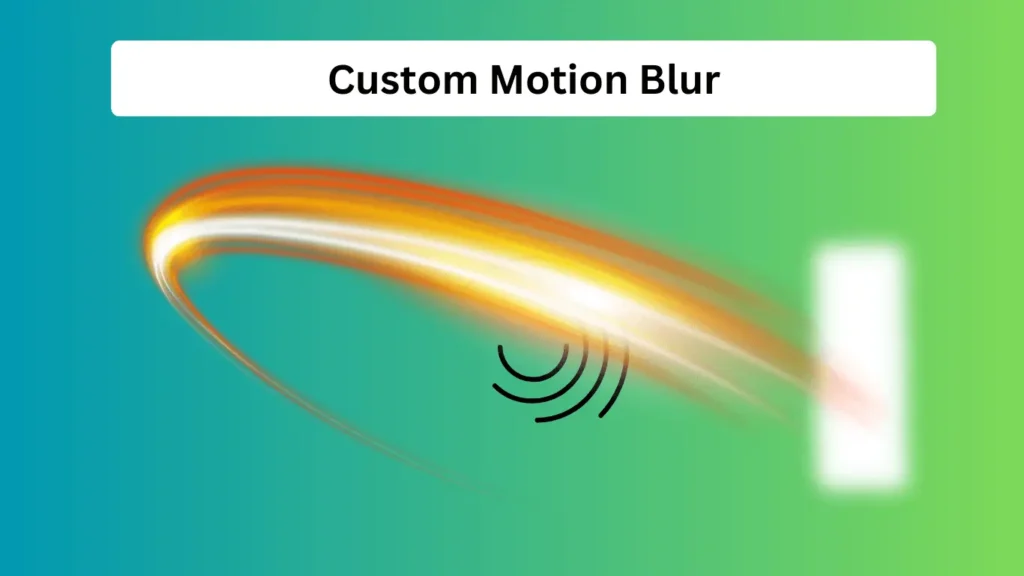
Manual Adjustments for Custom Motion Blur
For more control, you can manually adjust the blur by:
- Tapping on the Custom option.
- Alteration of some factors like but not limited to Blur angle and direction in order to make it perfect.
Adjusting the Motion Blur Intensity
Once the motion blur effect is applied, you can further tweak it by adjusting:
Intensity: Determines just how much blur is allowed on the image.
Direction: Adjust the flow direction of the blur toward the object of your choice depending on the motion.
Blending and Opacity Settings
To ensure your blur effect looks natural, you can:
Replace Blending Modes to achieve a better overlay.
Experiment with values set under the Opacity option to achieve a more delicate result.
Speed and Blur Correlation
You should always recall that the more velocity your object has, the stronger the image blurs resulting from motion should be. To optimise the blur you should be in a position to regulate the speed of the video or the animation that you are displaying.
Creating Seamless Transitions with Motion Blur
Another type of blur called motion blur is beneficial during changes. To create smooth transitions:
Add motion blur in the keyframe animated objects.
You can also regulate the blur when you start transitioning from one scene to another to be smooth.
Common Mistakes to Avoid
While adding motion blur, avoid these common pitfalls:
Overusing the Effect: Most often excessive motion blur degrades the natural look in the shot as well as in the video as a whole.
Wrong Direction: In this case, the blur should always be following the object that is in motion.
Optimizing Performance: Avoiding Lag
If motion blur is to be implemented, then it turns into a very heavy resource that slows down the execution or even hiccups on older models.
If applicable, decrease the project’s resolution or frame rate when you codify in order to make the work more efficient.
Depending on your settings, adjust the video and take screenshots just before exporting to see the result.
Exporting Your Final Project
Once you’re happy with your video, it’s time to export:
- Tap the Export icon.
- Select the required resolution, frame rate, and format.
- Export the project to your gallery or share it directly to your social media.
Advanced Tips for Enhancing Your Motion Blur
For more advanced users, you can:
- Combine Motion Blur with Other Effects: One could for instance try putting glow or distortion effects for effect.
- Use Keyframes: Add life to the intensity of the motion blur in zed to zax manner over the keyframed time.
Conclusion
Setting motion blur in Alight Motion is pretty easy, and it will significantly improve the quality of your videos. With the help of the described above steps, you will be able to create rather effective effects that will be interesting to the audience. Both preset and custom controls can be used to great effect to see what works best for your project.
FAQs About How to add motion blur on alight Motion?
Can I find motion blur in the free version of Alight Motion?
Yes, but yes, some more options could be available only to the paid subscribers and only to the database with a paid subscription.
Is it possible to shake the text using the blur tool in Alight Motion?
Yes, you can apply the motion blur to any object including text layers which become blurred whenever you make this adjustment.
While shooting a video does motion blur reduce video quality?
Motion blur is bound to make file size larger but this does not necessarily affect the quality in the same way it used to if it is optimized.
Related Post
How to add keyframes in Alight Motion?
How to Extract Audio in Alight Motion?
How to add music in Alight Motion?